

Since macOS 12 “Monterey”, Apple has created the Virtualization framework which provides high-level APIs for creating and managing virtual machines (VM) on Apple silicon and Intel-based Macs. For Intel-based Macs, there is no necessity for using it, as 3rd-party commercial hypervisors are way more advanced and more feature-rich. Unfortunately for Apple silicon Macs, this seems to be the only way to virtualize macOS at the time of writing.
However, the current version of Virtualization framework is pretty bare-bone and has many limitations, including but not limited to:
- Any macOS version prior to macOS Monterey isn’t supported (as the Virtualization framework was introduced in Monterey).
- It will crash if you try to use the IPSW (restore image file) of macOS Ventura for installation on a macOS Monterey host.
- There’s no way to fully customized the virtual hardware but only reflect hardware of the host machine.
- You can’t sign-in Apple ID in the VM.
Now you might be able to comprehend why there’s no commercial-grade 3rd-party virtualization software for macOS on Apple silicon: the APIs were just too hard to work with at this time. But other than those limitations, it works quite well and is amazingly fast compares to its Intel-based counterpart.
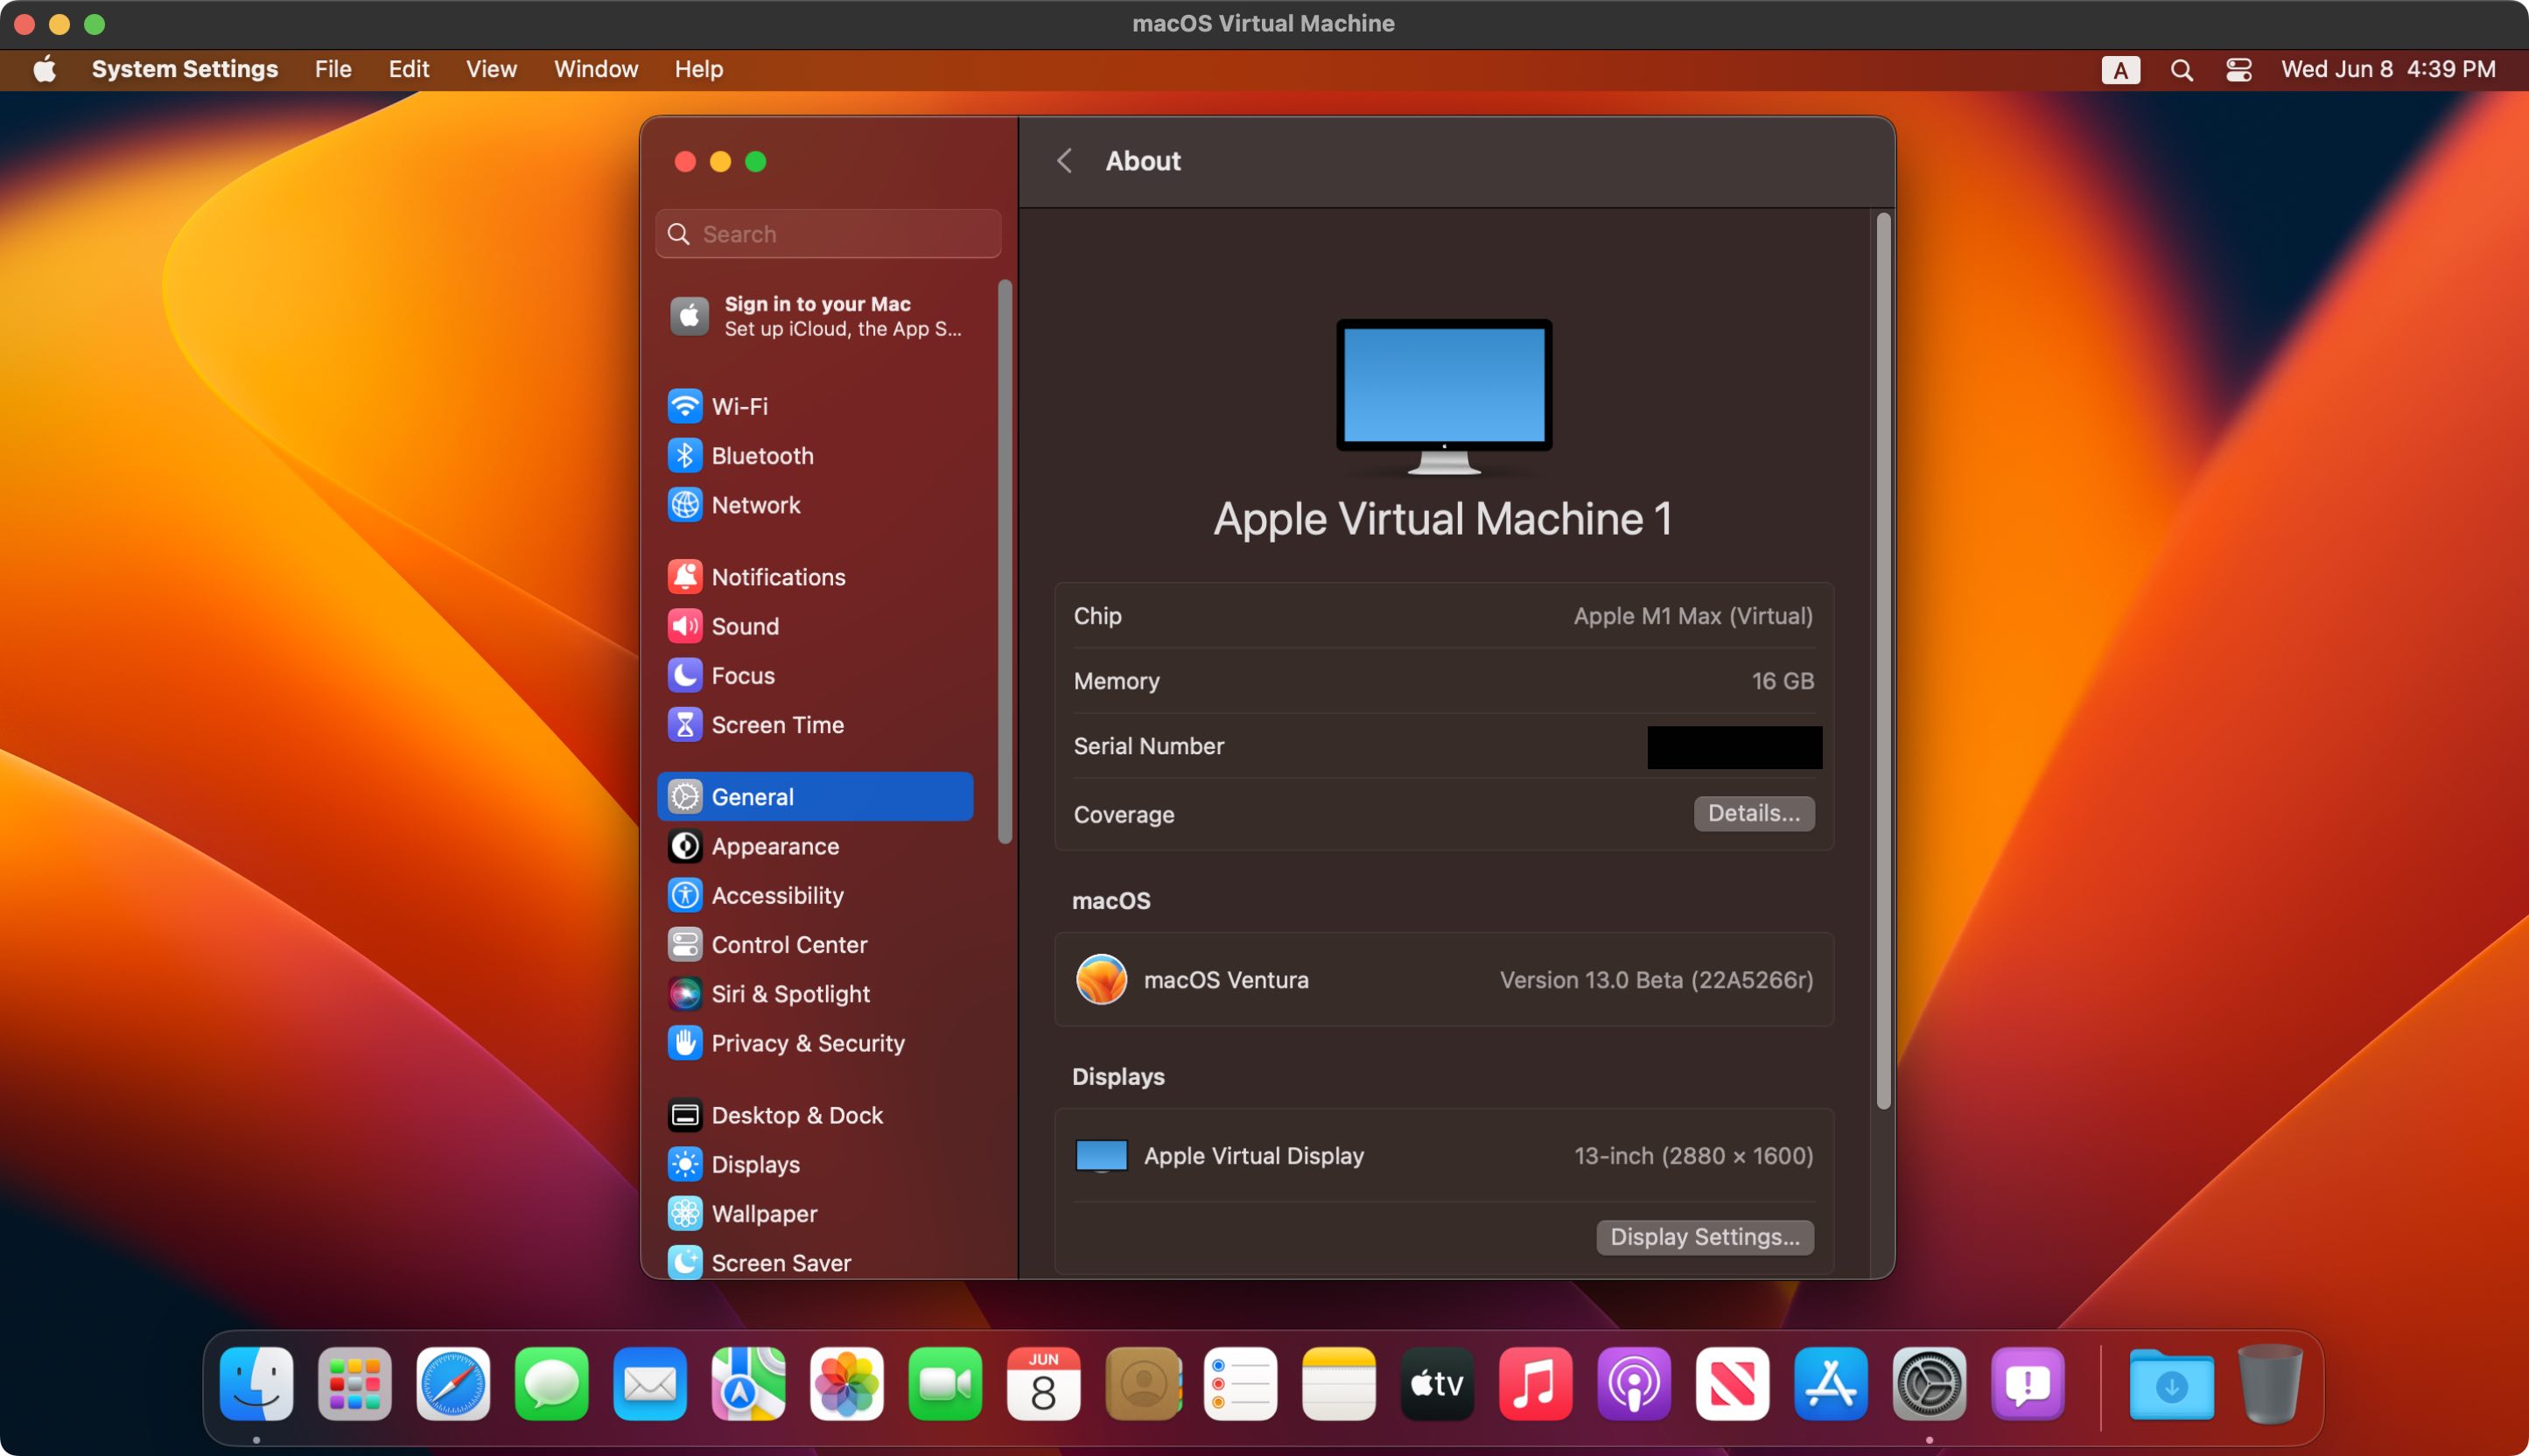 macOS Ventura VM running on an Apple silicon MacBook Pro.
Pre-requirements
- An Apple silicon Mac.
- As this guide is based on an Apple sample project, basic knowledge of programming (for either Objective-C or Swift) is required.
- An Apple ID as developer account for code-signing.
- Basic knowledge of Xcode and have Xcode 13 or later installed.
- A copy of this sample project.
Now we can start the installation!
Configure the Virtual Machine
Although the sample project itself works out of the box, you might want to adjust some of the configurations. The rest of the guide will use Swift version as example, but Objective-C version is pretty similar.
Installation Path
To change the hardcoded installation path, look into “Path.swift” and edit the path as you please. By default, it will install into “VM.bundle” in your home folder.
CPU Cores
To change the allocate CPU cores for the VM, look for function “computeCPUCount()” in “MacOSVirtualMachineConfigurationHelper.swift”:
static func computeCPUCount() -> Int {
    let totalAvailableCPUs = ProcessInfo.processInfo.processorCount

    var virtualCPUCount = totalAvailableCPUs <= 1 ? 1 : totalAvailableCPUs - 1
    virtualCPUCount = max(virtualCPUCount, VZVirtualMachineConfiguration.minimumAllowedCPUCount)
    virtualCPUCount = min(virtualCPUCount, VZVirtualMachineConfiguration.maximumAllowedCPUCount)

    return virtualCPUCount
}
By default, it will use your total available cores minus 1. You can also calculate the optimal value dynamically with .maximumAllowedCPUCount.
Memory
To change the allocate memory for the VM, look for function “computeMemorySize()” in “MacOSVirtualMachineConfigurationHelper.swift”:
static func computeMemorySize() -> UInt64 {
    // We arbitrarily choose 4GB.
    var memorySize = (4 * 1024 * 1024 * 1024) as UInt64
    memorySize = max(memorySize, VZVirtualMachineConfiguration.minimumAllowedMemorySize)
    memorySize = min(memorySize, VZVirtualMachineConfiguration.maximumAllowedMemorySize)
    return memorySize
}
By default the value is 4GB. Instead of hardcode the memory size, you can also calculate the optimal size dynamically with .maximumAllowedMemorySize.
Display Resolution and PPI
The Virtualization framework has yet to support dynamic resolutions. To change the display resolution and PPI, look for function “createGraphicsDeviceConfiguration()” in “MacOSVirtualMachineConfigurationHelper.swift”:
static func createGraphicsDeviceConfiguration() -> VZMacGraphicsDeviceConfiguration {
    let graphicsConfiguration = VZMacGraphicsDeviceConfiguration()
    graphicsConfiguration.displays = [
        // We abitrarily choose the resolution of the display to be 1920 x 1200.
        VZMacGraphicsDisplayConfiguration(widthInPixels: 1920, heightInPixels: 1200, pixelsPerInch: 80)
    ]
    return graphicsConfiguration
}
For example, the PPI for 14” MacBook Pro is 284. Change it to enable HiDPI (Retina) mode.
Disk Size
The default disk size of the VM is 64GB. To change it, look for function “createDiskImage()” in “MacOSVirtualMachineInstaller.swift”:
private func createDiskImage() {
    let diskFd = open(diskImagePath, O_RDWR | O_CREAT, S_IRUSR | S_IWUSR)
    if diskFd == -1 {
        fatalError("Cannot create disk image.")
    }

    // 64GB disk space.
    var result = ftruncate(diskFd, 64 * 1024 * 1024 * 1024)
    if result != 0 {
        fatalError("ftruncate() failed.")
    }

    result = close(diskFd)
    if result != 0 {
        fatalError("Failed to close the disk image.")
    }
}
You should allocate at least 64GB of the disk space for stability.
Of course, there are other settings that you can play around, but they were not as important.
Install macOS Monterey
Once configured, run the “InstallationTool” will initiate the process. It will try to obtain the latest copy that’s public available to the host Mac. You can modified the source code to force it to use other IPSW, but as currently there’s only Monterey available, we can just leave it as it is.
After the installation, fire up “macOSVirtualMachineSampleApp”. It should open a window with the macOS Monterey VM we just installed.
Install macOS Ventura Beta
Once you have access to the VM, open Safari and download the macOS Ventura installer “InstallAssistant.pkg” here. At the moment, the “macOS Developer Beta Access Utility” available on the Apple Developer website will result in errors so you won’t be able to upgrade directly.
Install the PKG file you just downloaded, then open the “Install macOS 13 beta.app” in your Applications folder to start the macOS installation. As macOS Ventura greatly alter the System Preferences UI, it’s recommended to have everything setup before you upgrade.
Wait until the installation finish. You should now have a working macOS Ventura VM on your Apple silicon Mac.


