macOS has a built-in Quartz filter named “Reduce File Size”, which can be used to reducing the size of the file by recompressing graphics. It’s useful when you need to reduce the size of a high quality PDF for emailing or uploading to a website that has file size limitations.
But there’s a small issue: by default, this filter scales the image resolution by 50% and has a maximum width or height of 512 pixels, render most of the images way too blur to be readable. Fortunately, there’s a way to customize it to your needs.
Modify Quartz filters in ColorSync Utility
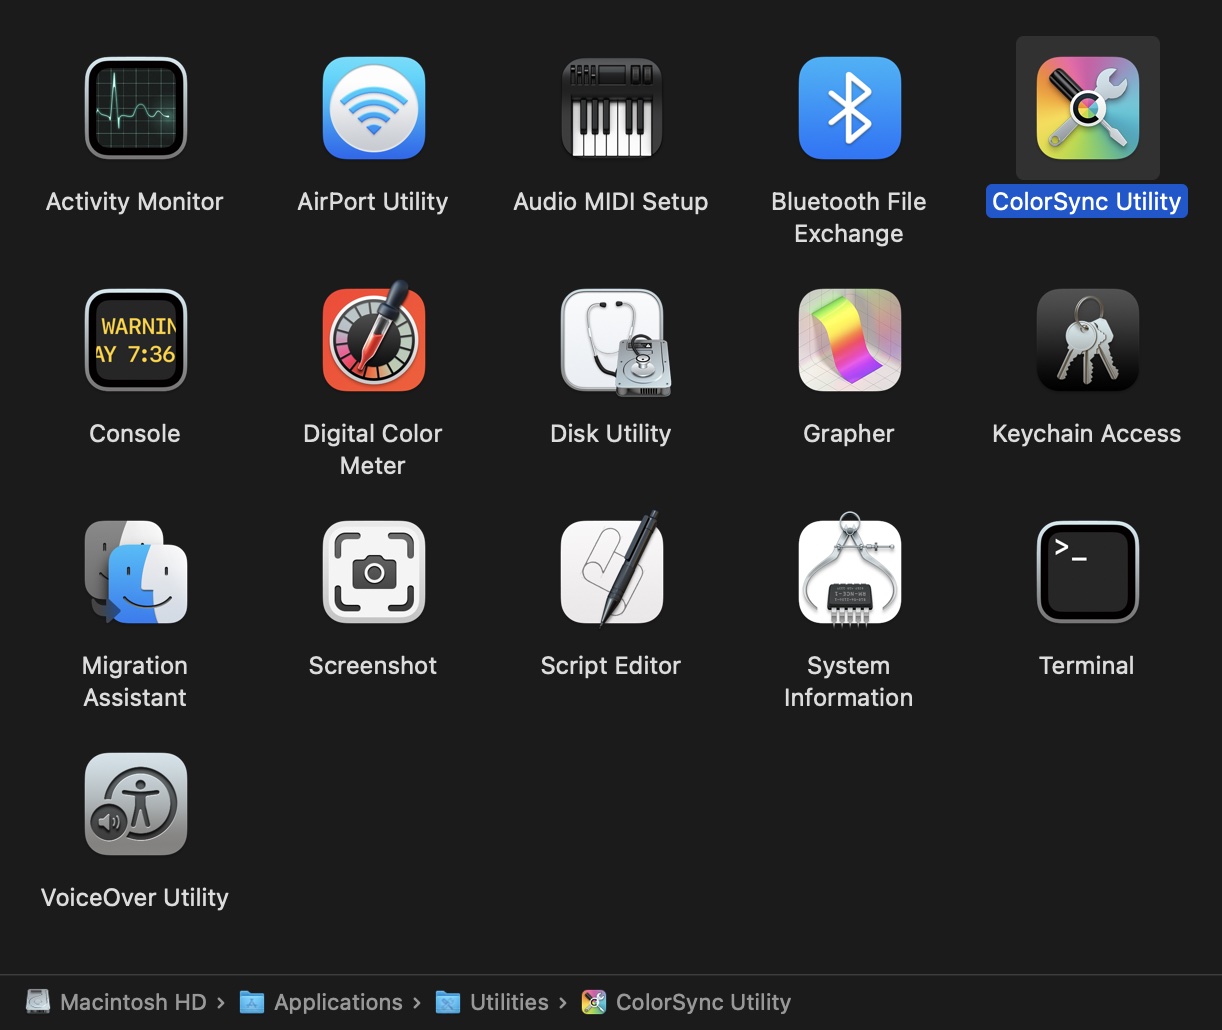
ColorSync Utility can be found in “Applications > Utilities” (or simply use Spotlight):
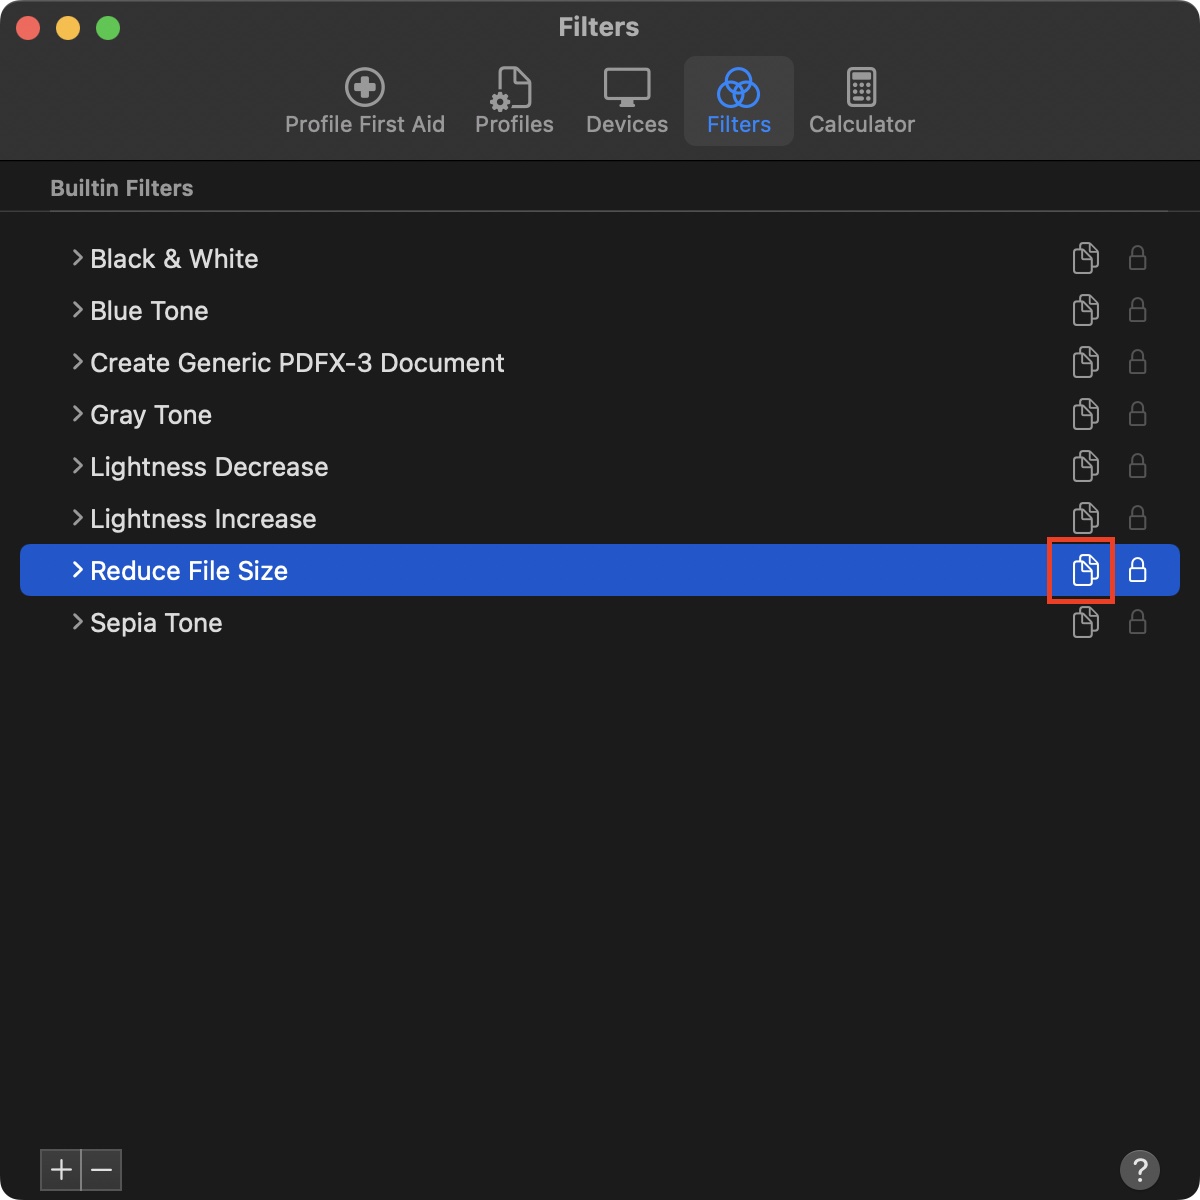
First, duplicate the existing “Reduce File Size” filter by clicking the duplicate button so we can have a modifiable copy:
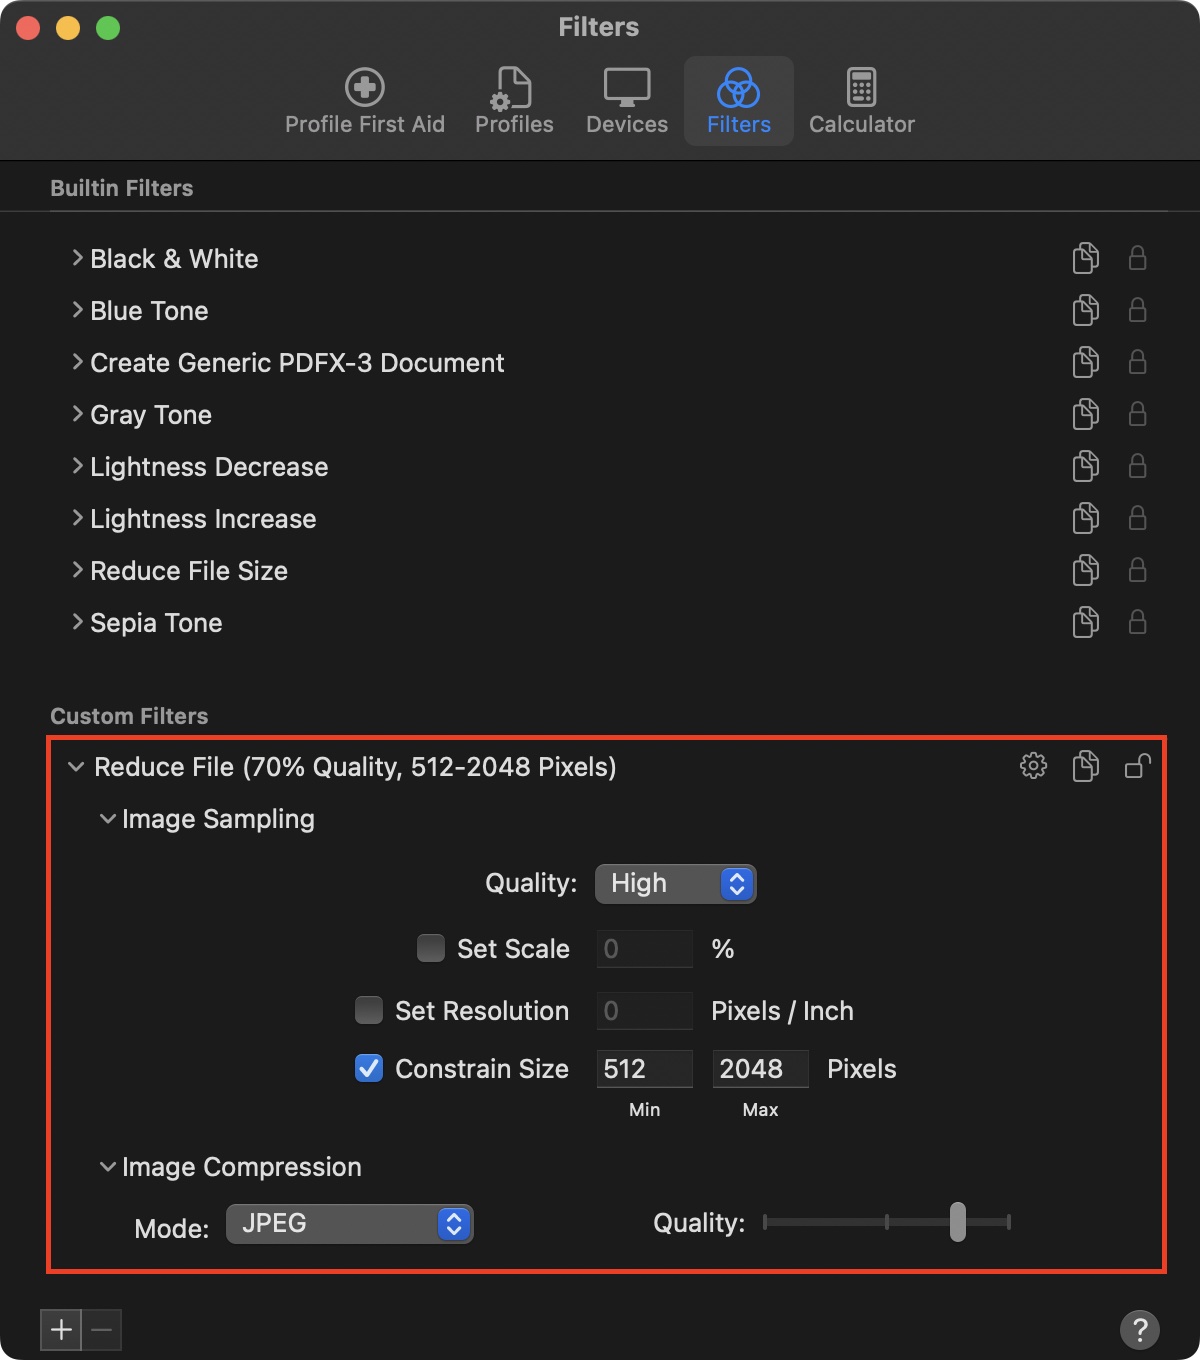
Then rename and modify the newly created filter to adjust the target image quality:
Modify Quartz Filters Directly
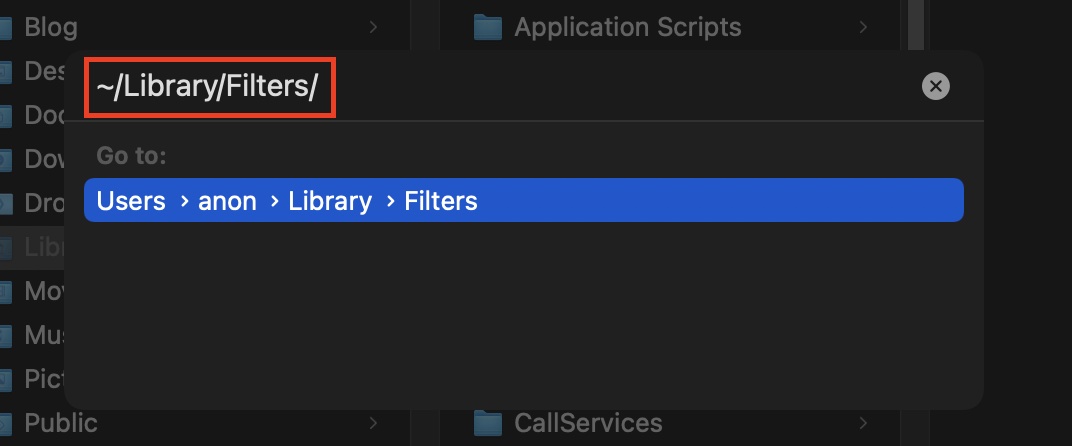
Although the image compression is adjustable, we are unable to specify the quality factor/recompressing ratio as it’s set by a slider without percentage value. To edit the values directly, open Finder, locate the filter file at “~/Library/Filters” (an easier way is via “Finder > Go > Go to Folder…” and paste the path):
Open the “.qfilter” file with text editor that matched the one you created:
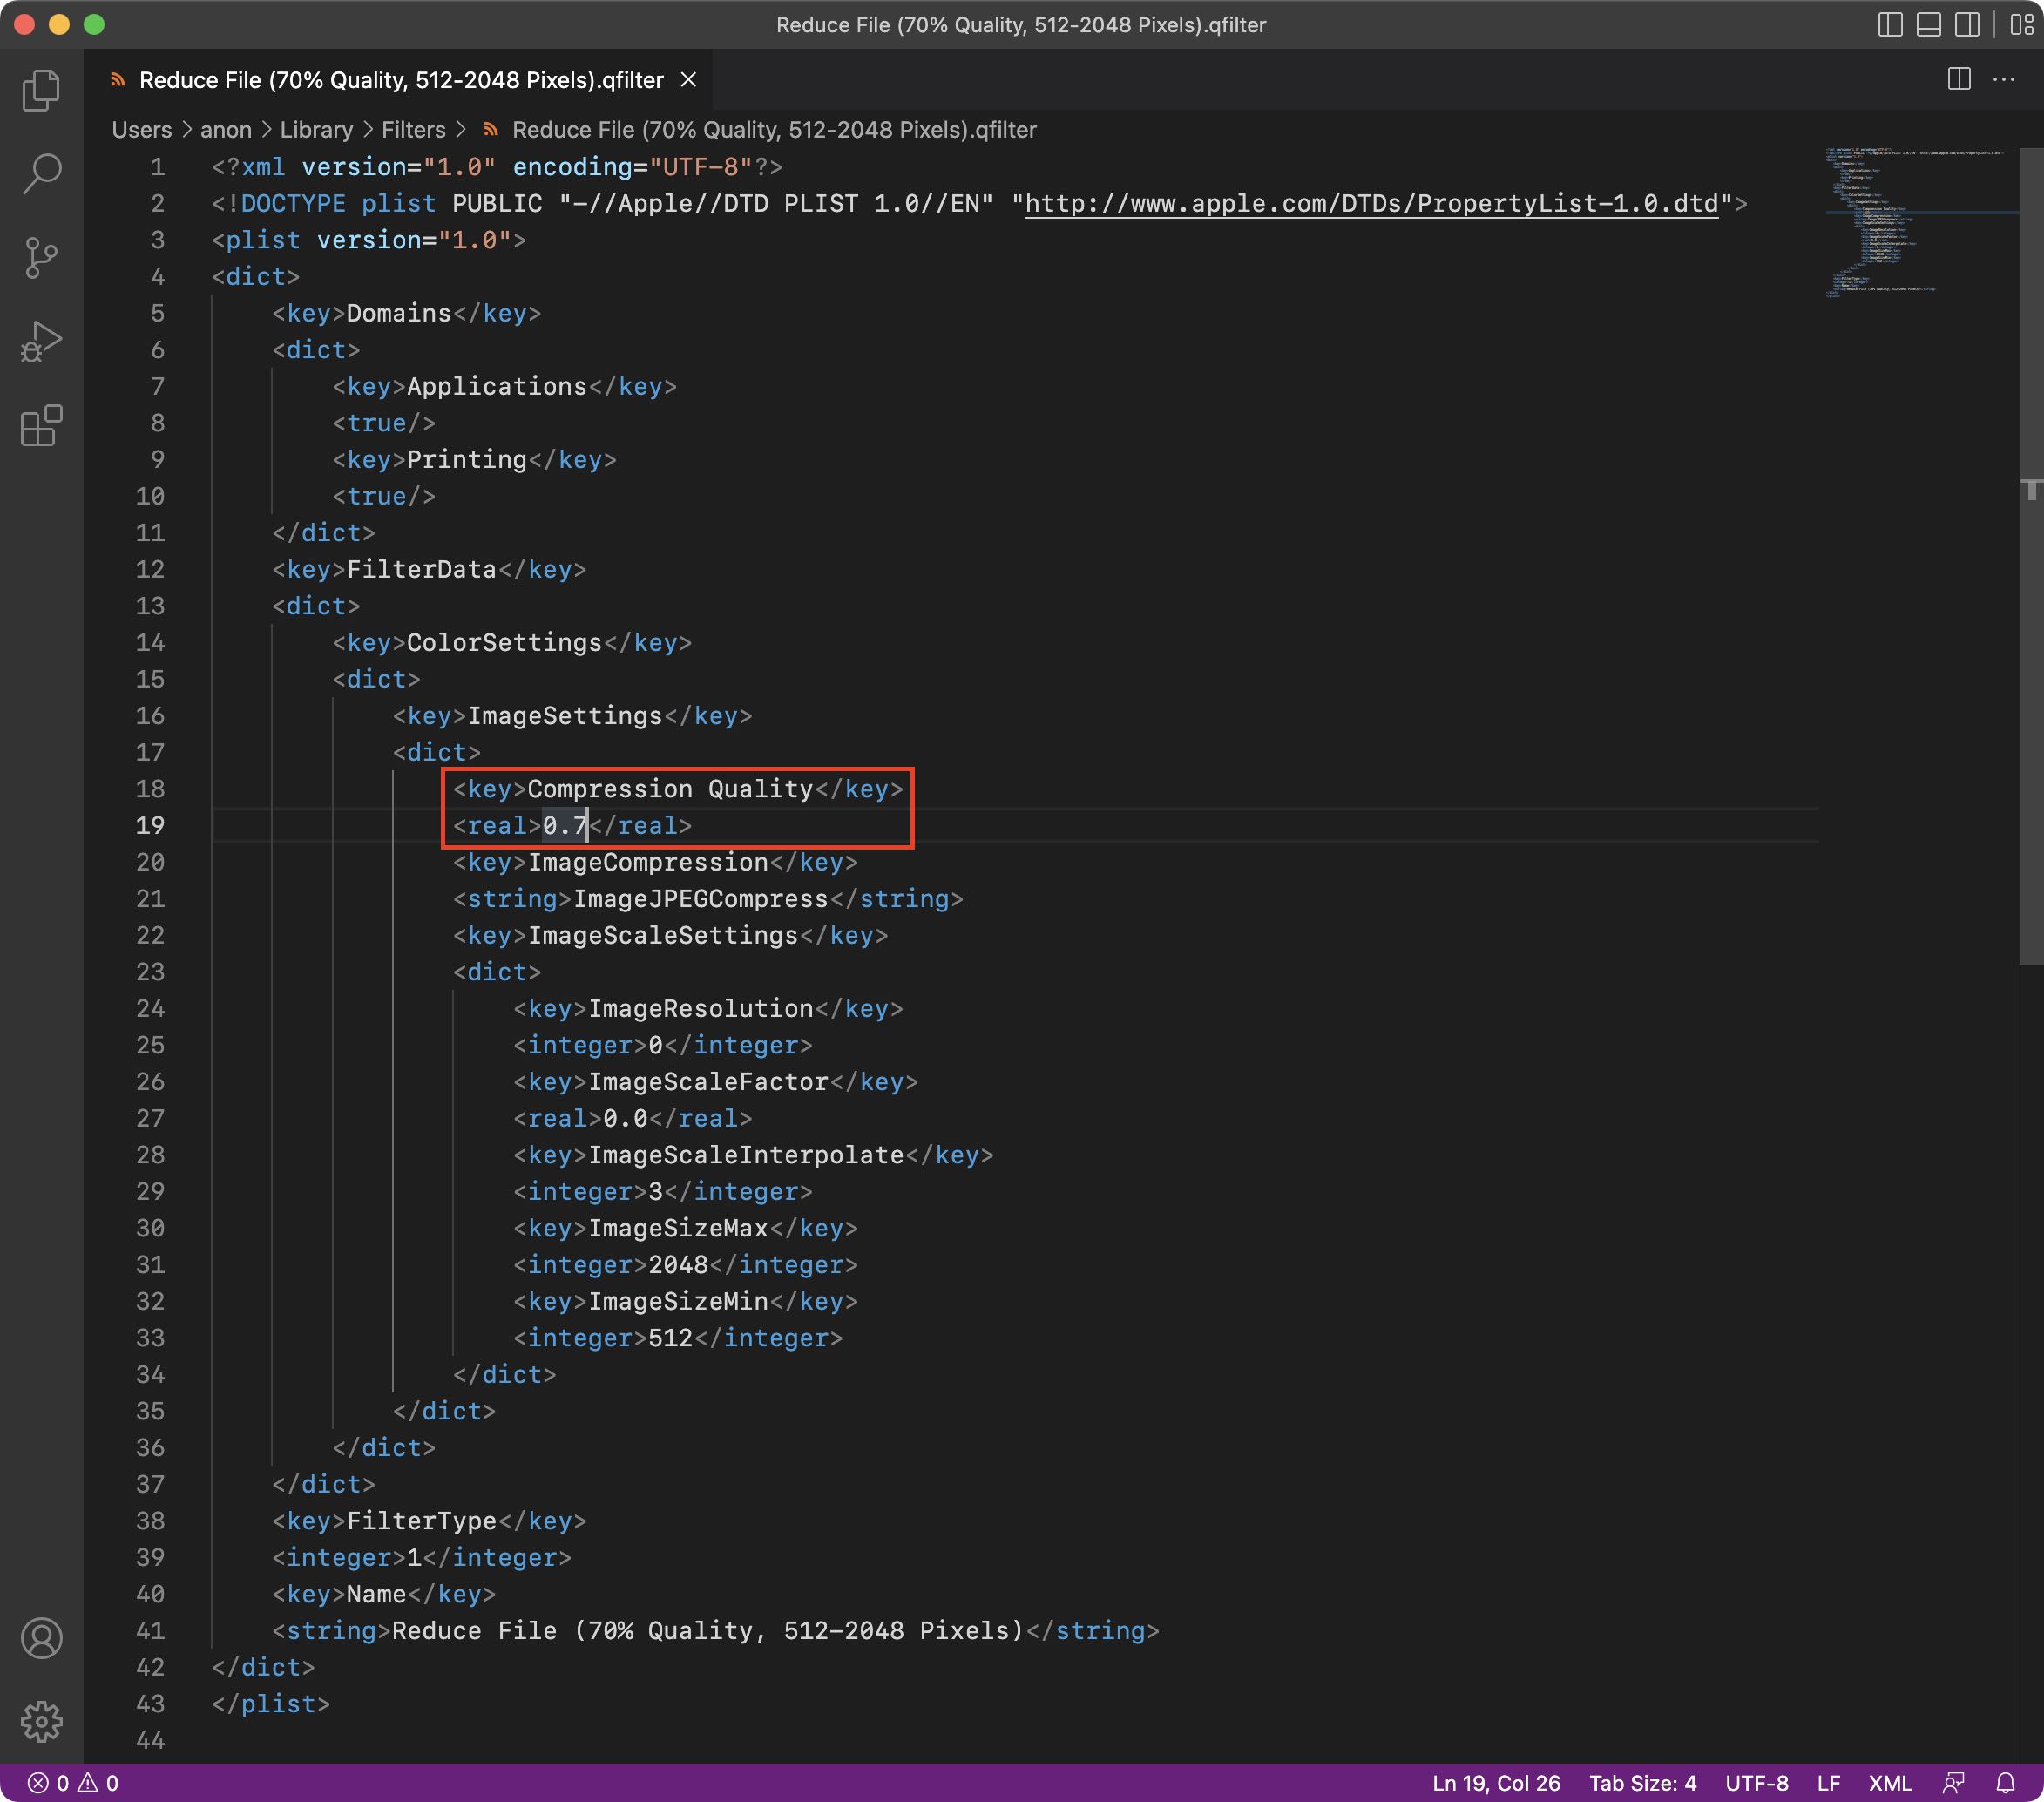
You can then specify the values. The “Compression Quality” is between 0.0 and 1.0, higher means better quality.
Apply Quartz Filters
The created filter is accessible in Preview app when saving or exporting:
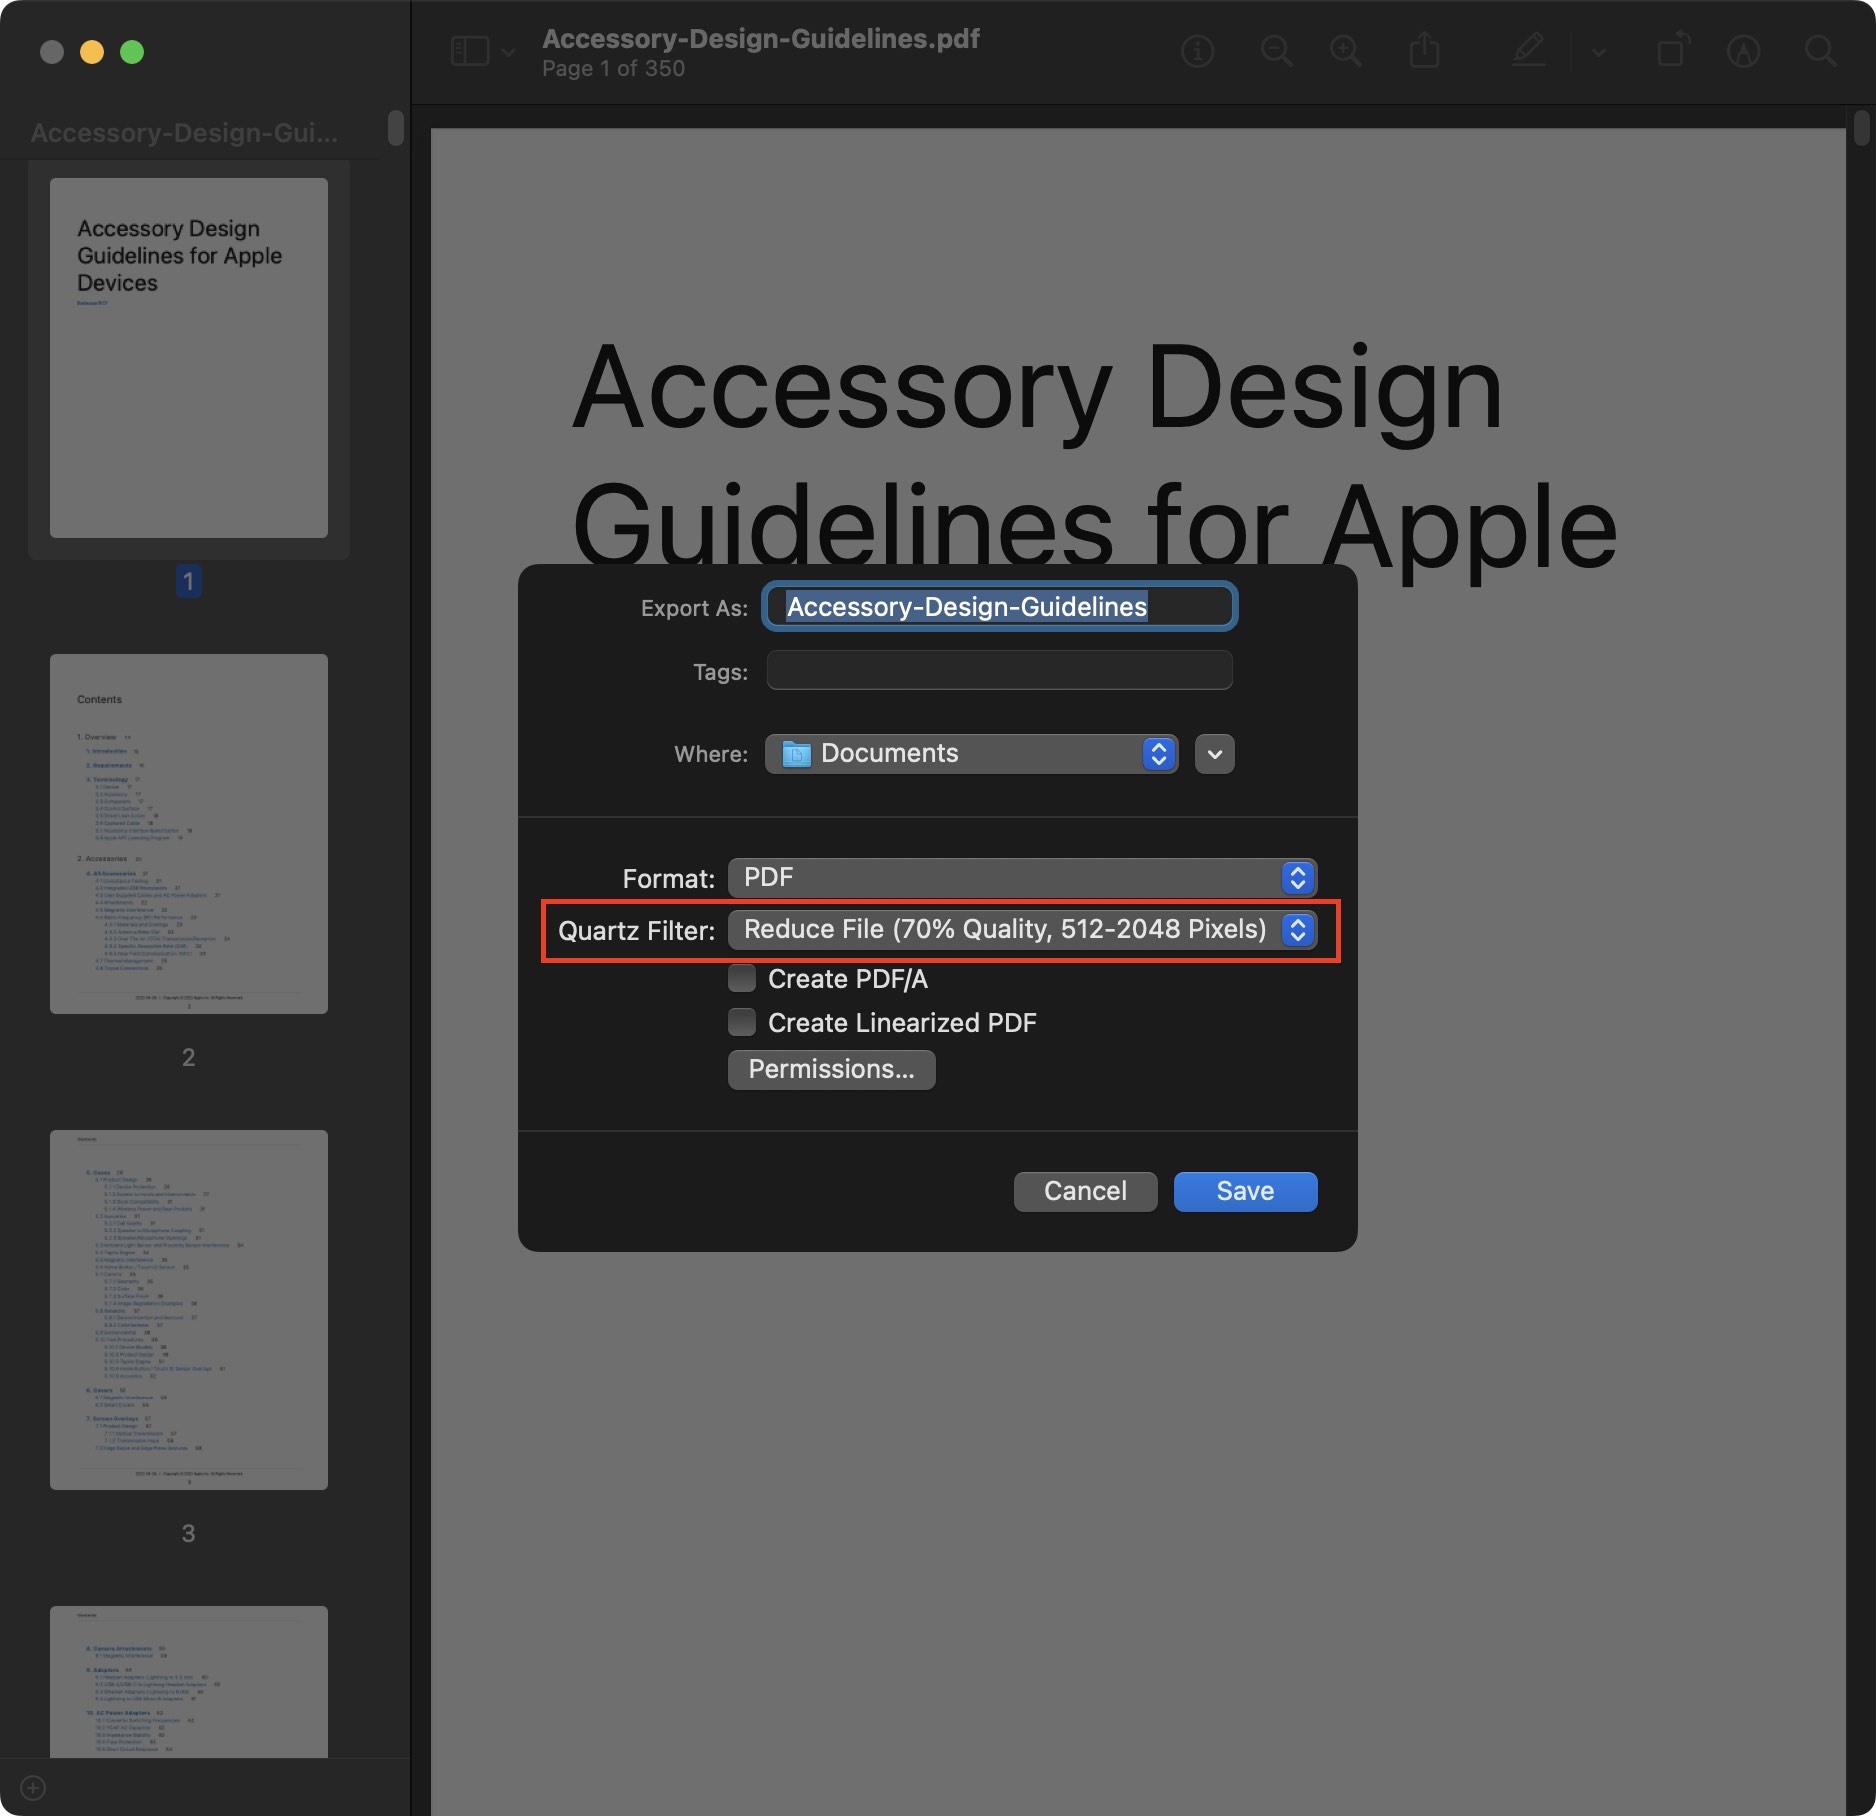
Test the values to find what works best for you. You can also have multiple customized filter.


