

macOS 13 “Ventura” beta was just introduced at WWDC 2022. If you’re curious to explore the new features without risking your main system, installing it in a virtual machine is a smart move.
I use VMware vSphere daily at work, so using Fusion on macOS for virtualization felt like a natural choice. Unfortunately, since macOS Monterey, VMware Fusion has had some bugs that interfere with normal installation. This guide walks you through all the steps needed to successfully install macOS Ventura in VMware Fusion.
Requirements
- (Ideally) an Intel-based Mac compatible with macOS Ventura
- A macOS Ventura installer (details below)
- VMware Fusion 12.2 or later
Note: While it’s technically possible to install macOS Ventura on an Apple Silicon Mac using VMware Fusion Technical Preview, it’s not officially supported as of now. If you’re using an Apple Silicon Mac, refer to this guide instead.
Download the macOS Ventura Installer
Currently, only the Developer Beta is available, and you’ll need an active Apple Developer Subscription to download it legally. If you’re not a developer, you can wait for the Public Beta. I strongly advise against downloading installers from unofficial sources for security reasons.
Here’s a direct link from Apple CDN (use at your own risk):
| Release | Build | Download |
|---|---|---|
| Beta 1 | 22A5266r | InstallAssistant.pkg |
If you use the macOS Developer Beta Access Utility, make sure to back up the app bundle in case it gets deleted when canceling the install. If you’re using the InstallAssistant.pkg, install it to get the Install macOS 13 beta.app in your Applications folder.
Create the Installation Media
Fusion used to handle this automatically, but since Monterey, it’s broken—so we’ll create the ISO manually.
Ensure that Install macOS 13 beta.app is in your Applications folder and that you have at least 30GB of free space. Then run the following commands in Terminal:
hdiutil create -o /tmp/Ventura -size 13650m -volname Ventura -layout SPUD -fs HFS+J
hdiutil attach /tmp/Ventura.dmg -noverify -mountpoint /Volumes/Ventura
sudo /Applications/Install\ macOS\ 13\ beta.app/Contents/Resources/createinstallmedia --volume /Volumes/Ventura --nointeraction
sudo hdiutil detach -force /Volumes/Install\ macOS\ Ventura
hdiutil convert /tmp/Ventura.dmg -format UDTO -o ~/Desktop/Ventura.cdr
mv ~/Desktop/Ventura.cdr ~/Desktop/Ventura.iso
rm /tmp/Ventura.dmg
If everything went well, you’ll see Ventura.iso on your Desktop.
Here’s Apple’s official guide for reference.
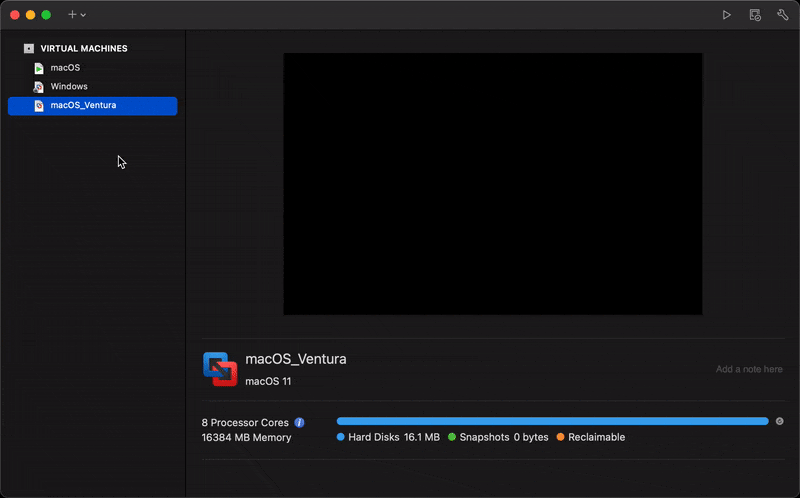
Set Up the VM
Create a new VM in Fusion using the ISO. Choose “Apple OS X > macOS 11” as the OS type, adjust the hardware as needed, and save it without launching.
Next, open the Virtual Machine Library (Shift + CMD + L), right-click the new VM, and choose “Show in Finder”. While holding Option, the option will change to “Open Config File in Editor”. Click it to open the VMX file in TextEdit.
Add the following lines anywhere in the VMX file:
appleGPU0.present = "TRUE"
svga.present = "FALSE"
This improves graphics performance.
To fix the Ethernet connection, find:
ethernet0.virtualDev = "e1000e"
and change e1000e to vmxnet3.
Optionally, to reflect your actual Mac hardware, add:
serialNumber.reflectHost = "TRUE"
hw.model.reflectHost = "TRUE"
smbios.reflectHost = "TRUE"
Save the VMX file and close the editor.
Install macOS Ventura
You’re now ready to install! Boot the VM and follow the standard macOS setup.
Once installed, use this version of VMware Tools to enable dynamic resolution.
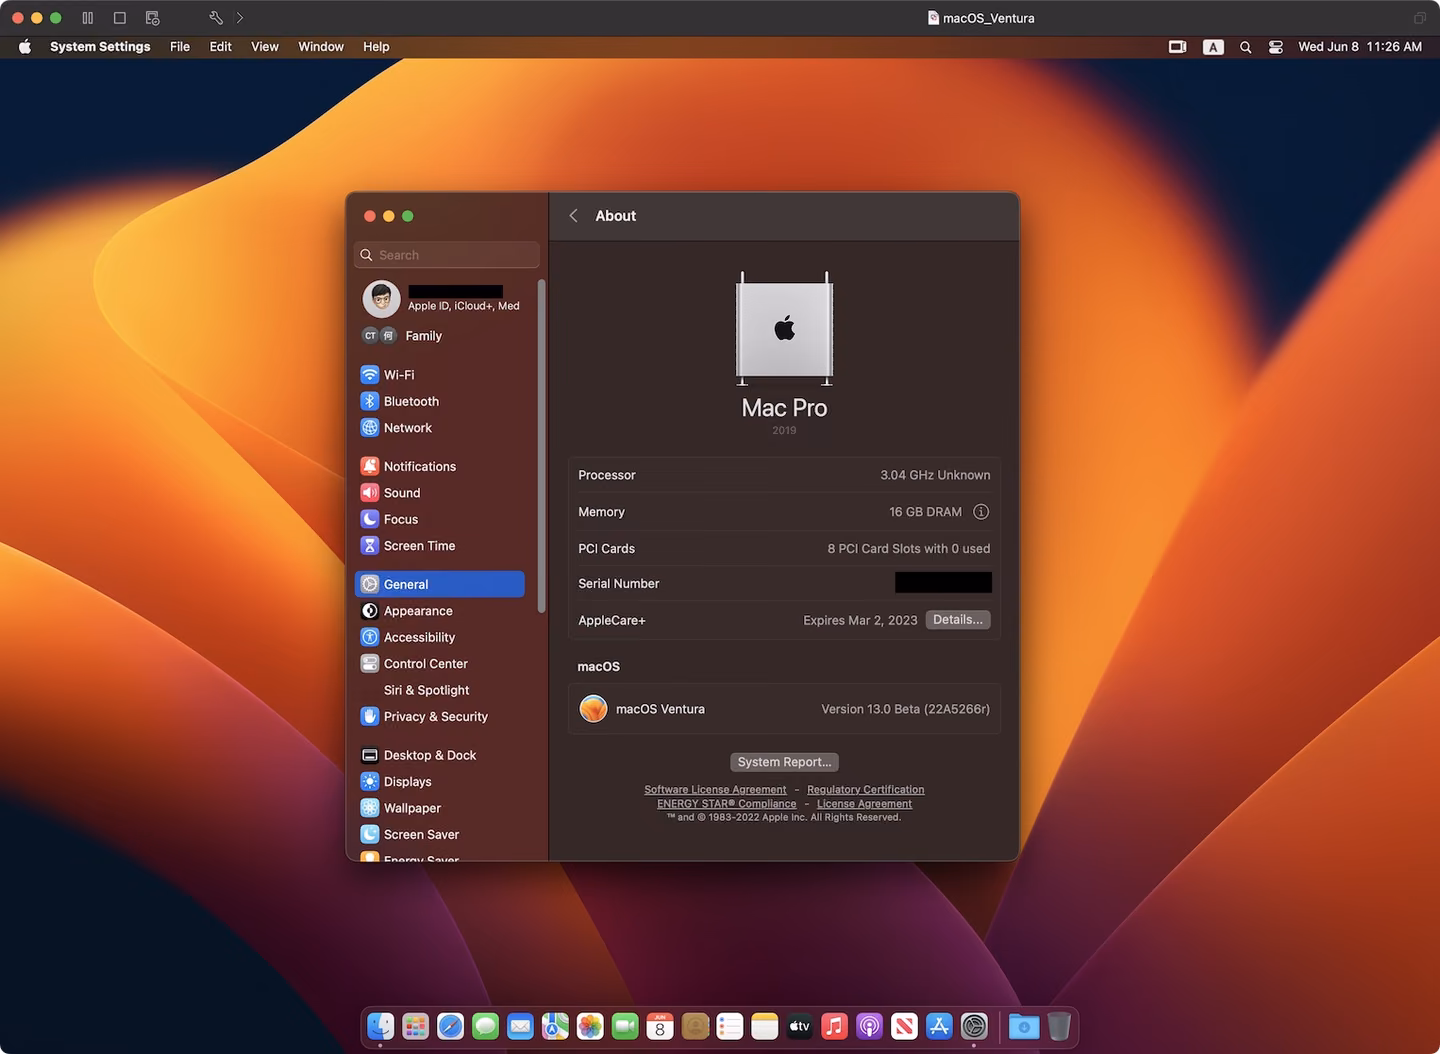
You should now have a fully functional macOS Ventura VM.


